
Starting point
-
You have created basic actions, routines and/or conditions.
-
You have completed the menus Fill cabinet and Address.
-
Your computer is connected to the installation.
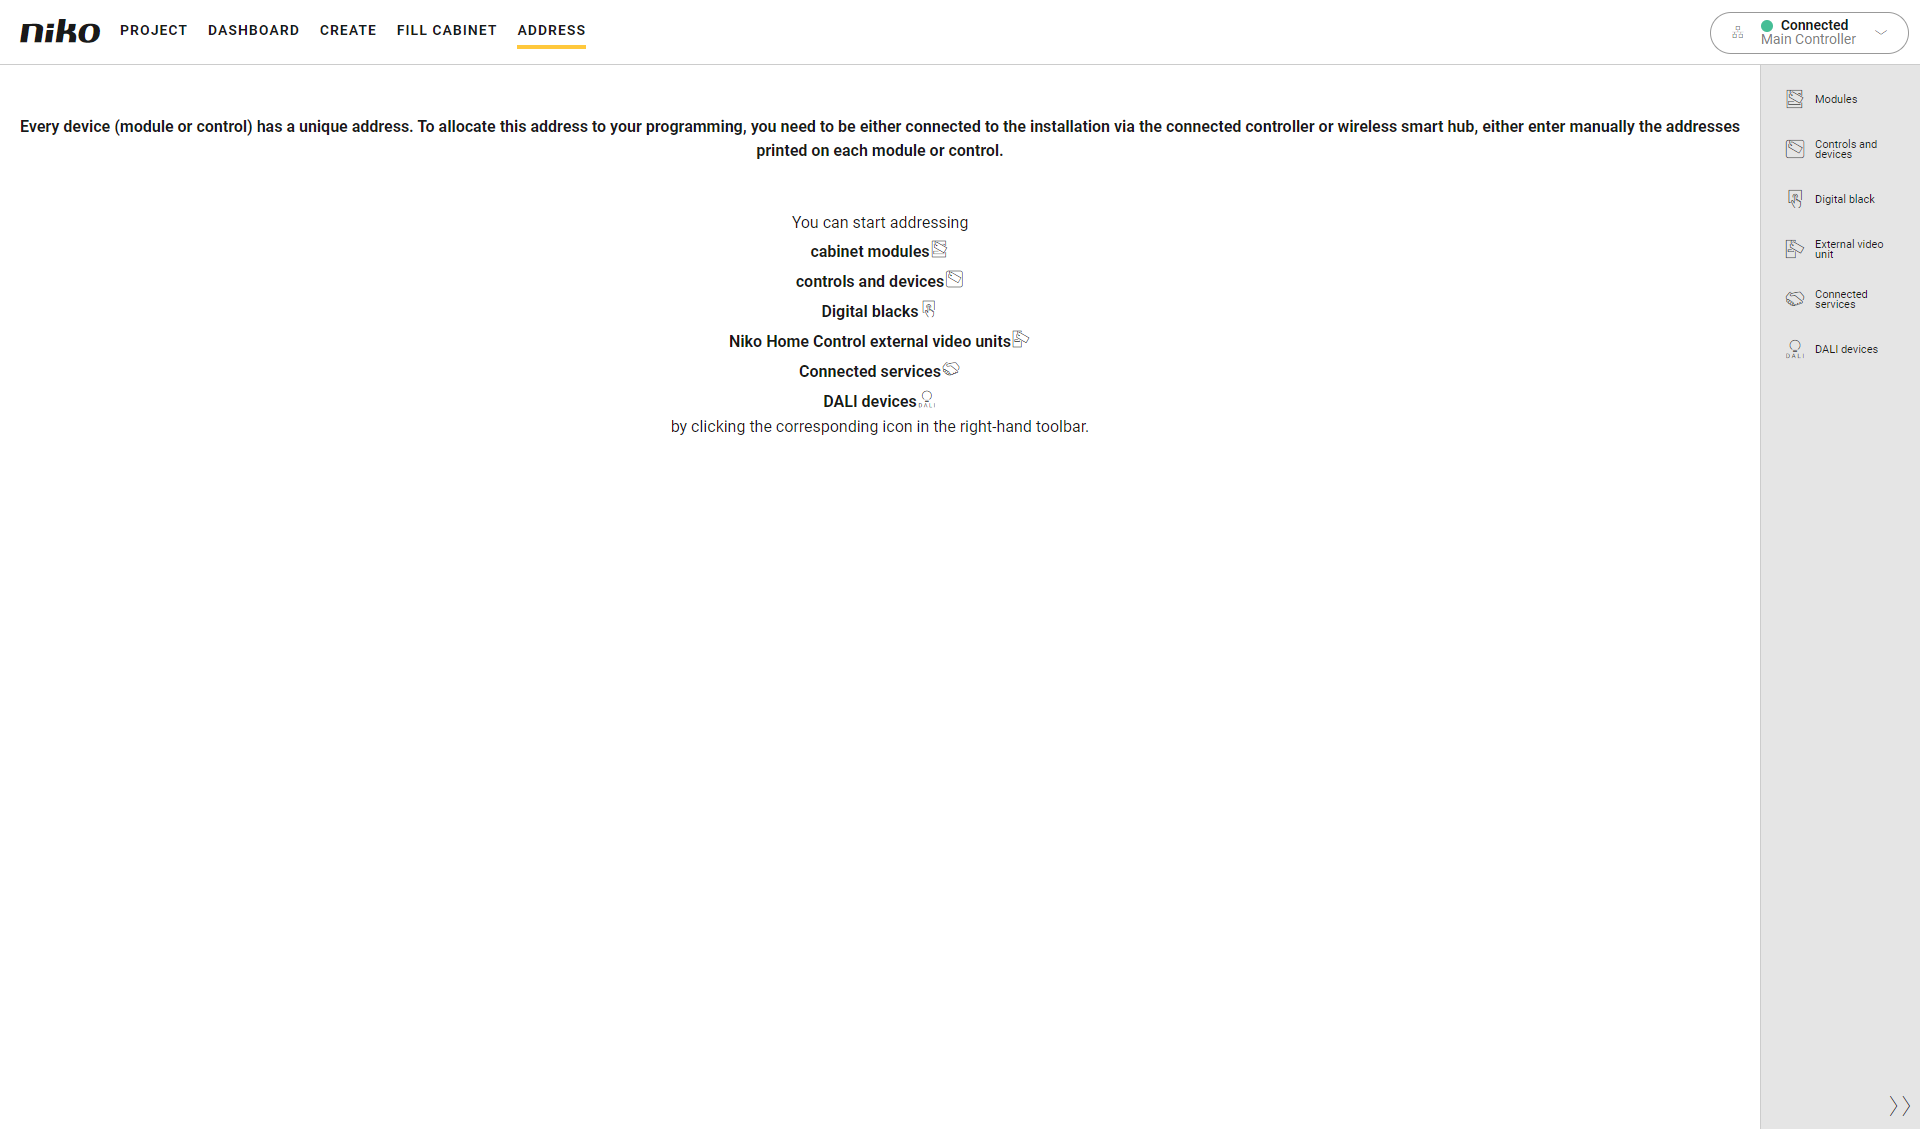
Procedure
-
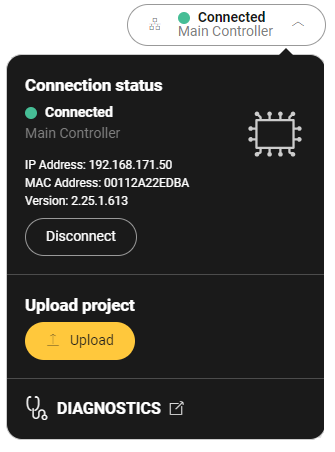
In the right-hand side of the menu, click the Connection centre button.
-
Click the Upload button.
The uploading of the project to the connected controller or wireless smart hub starts and takes place in several steps.
|
Step |
Description |
Possible result |
Action |
|
|---|---|---|---|---|
|
1 |
Validate (*) |
Check the configuration. |
The configuration is incomplete.
|
To ignore the warning: click on Continue. 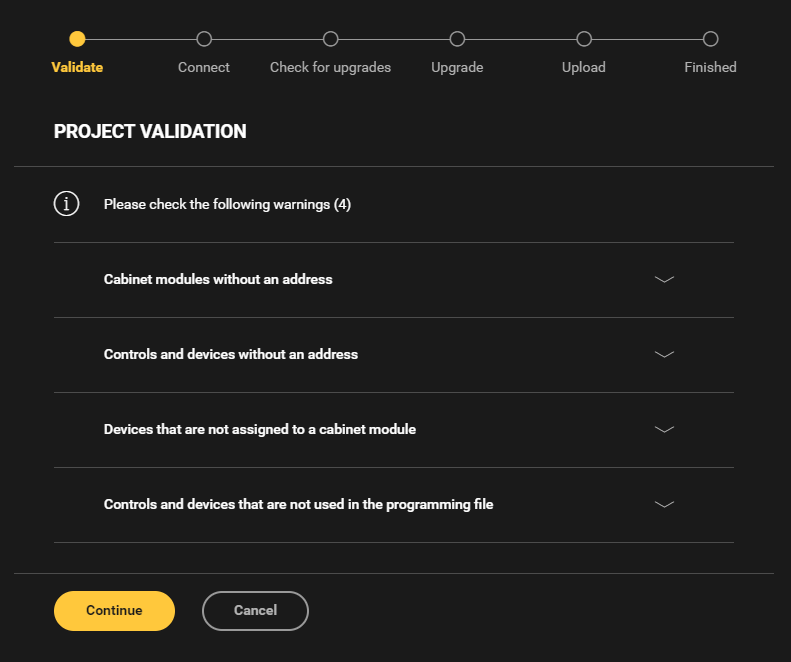
|
|
To remove the warning: solve the problem in the Create, Fill cabinet or Address menu. |
||||
|
Validation is OK. |
Automatically on to step 2. |
|||
|
2
|
Connect |
Check the connection between the connected controller and the computer. |
There is no connection. |
Check whether the connected controller and the computer are connected correctly and click on Retry. |
|
There is a connection. |
Automatically on to step 3. |
|||
|
3 |
Check for upgrades |
Check the firmware of the connected Niko Home Control installation for upgrades. |
More recent firmware is available. |
Automatically on to step 4. |
|
No more recent firmware is available. |
Automatically on to step 5. |
|||
|
4 |
Upgrade |
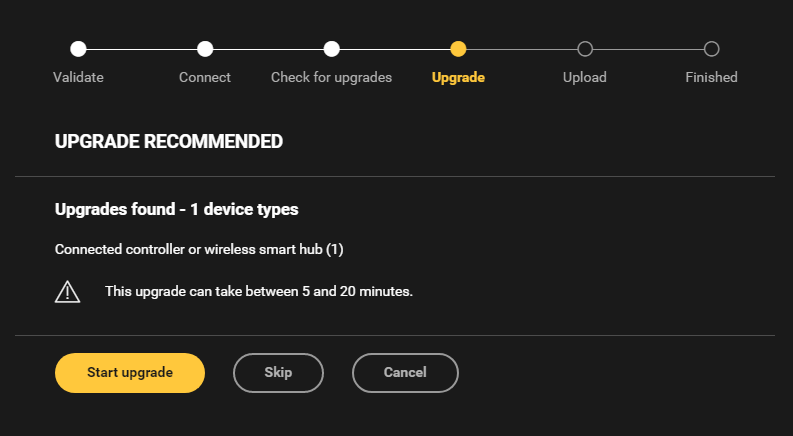
Show more recent firmware versions and estimated time. |
N/A |
Click on Start upgrade at the bottom to upgrade the installation.
|
|
5 |
Upload |
Upload the configuration to the installation. |
N/A |
Click on Upload to start uploading.
You can add free information in the text box, for instance the changes you have made to the configuration. 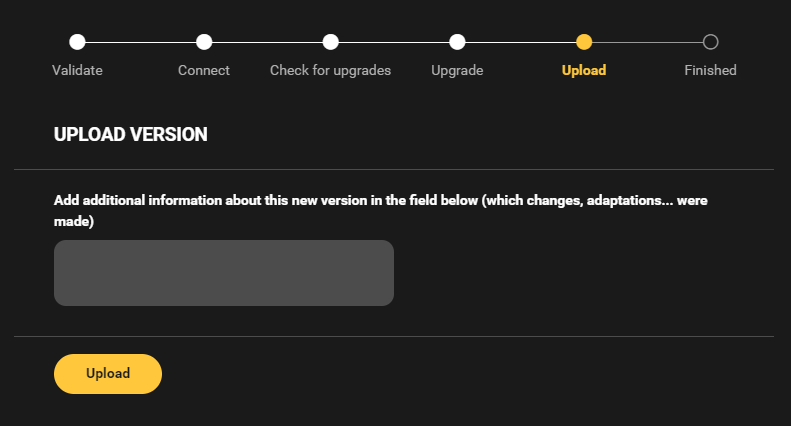
|
|
6 |
Upload completed |
Show possible warnings. |
Examples:
|
Analyse the problem and look for a solution. Examples:
|
(*) You do not need to be connected to the installation to validate your configuration only. Click Validate on the right-hand side button bar to check the configuration.