
-
If you want to address the Digital black, 24 V and link it to your Niko Home Control installation use the Niko Home app.
-
If you want to address a product for traditional wiring you can use both the Niko Home Control programming software and the Niko Home app.
Starting point
-
All components you want to address are in place and connected to the installation.
-
Your computer is connected to the installation.
-
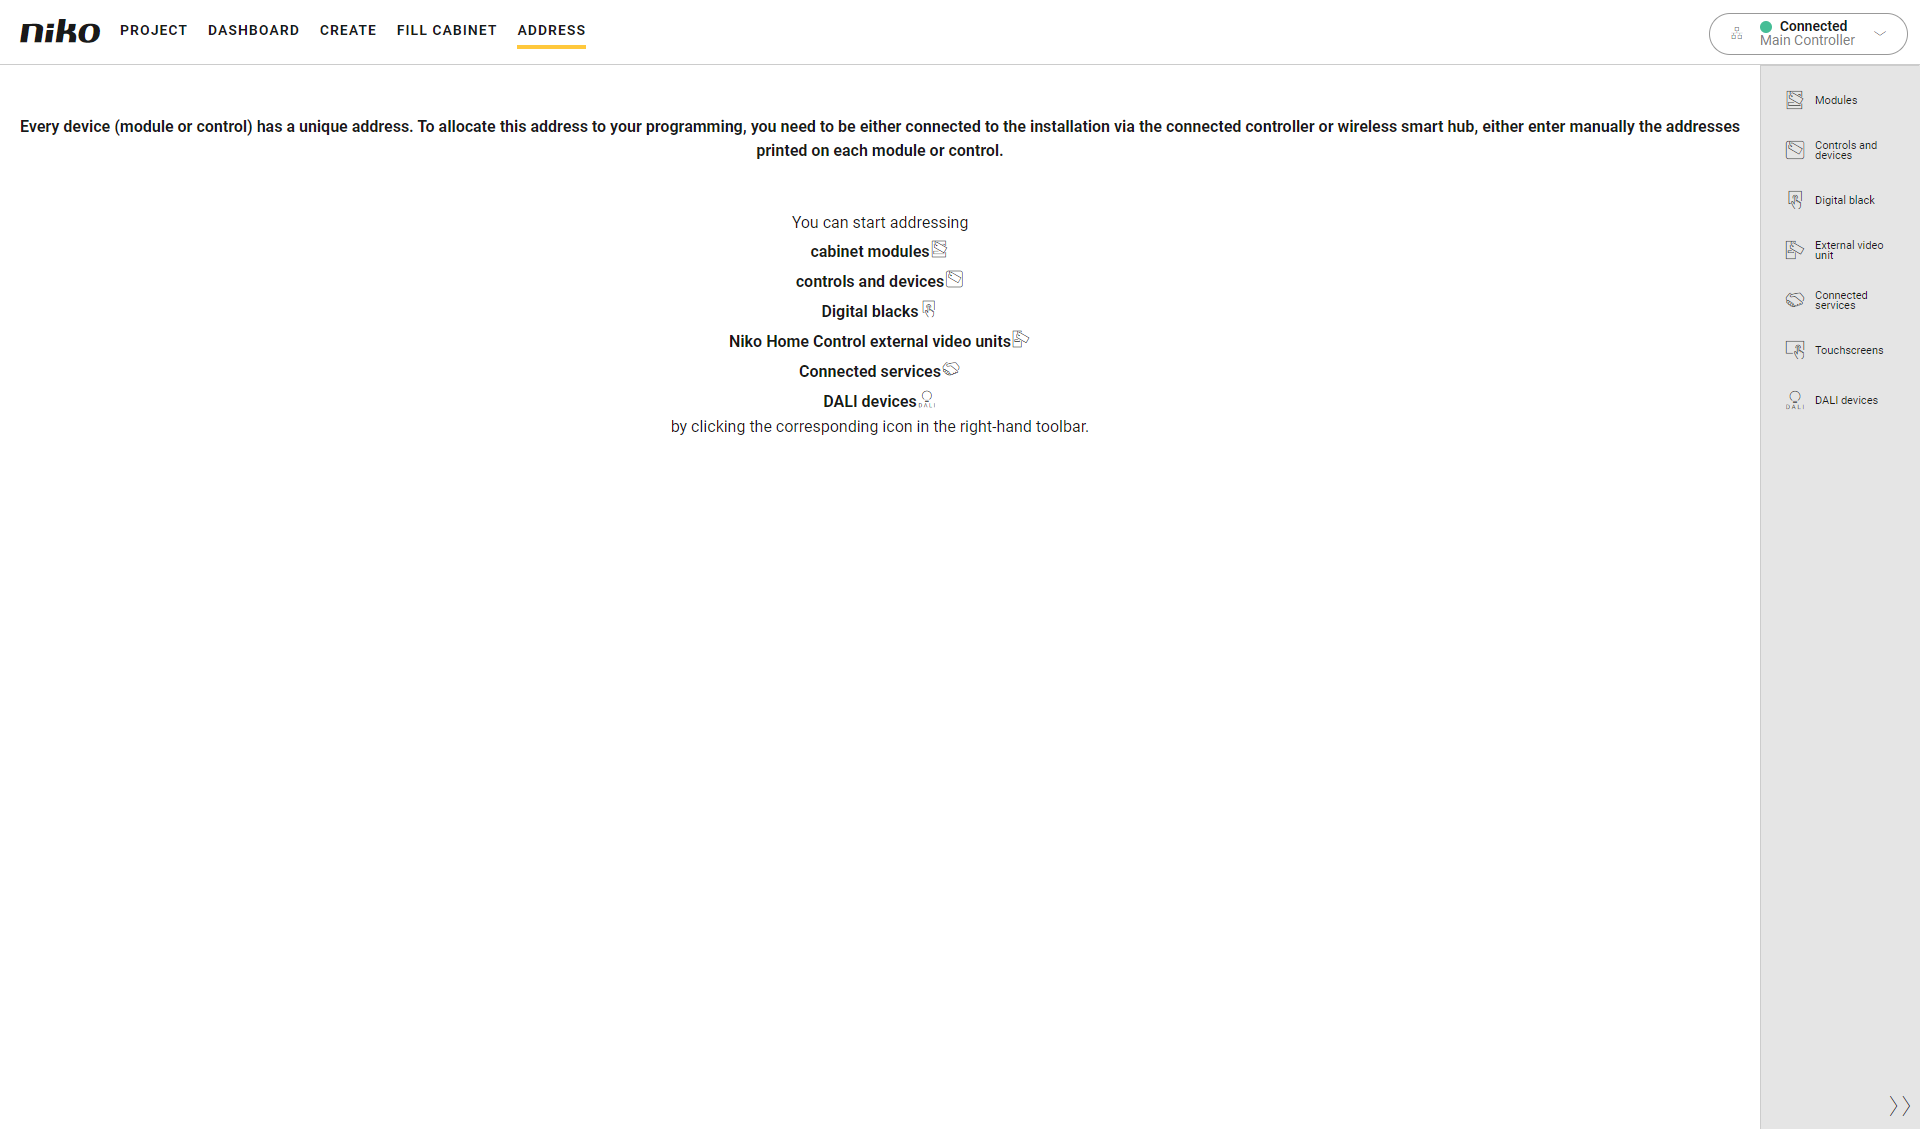
You are in the Address overview window.
Procedure
-
In the right-hand button bar, click on the button Controls and devices.
Result:-
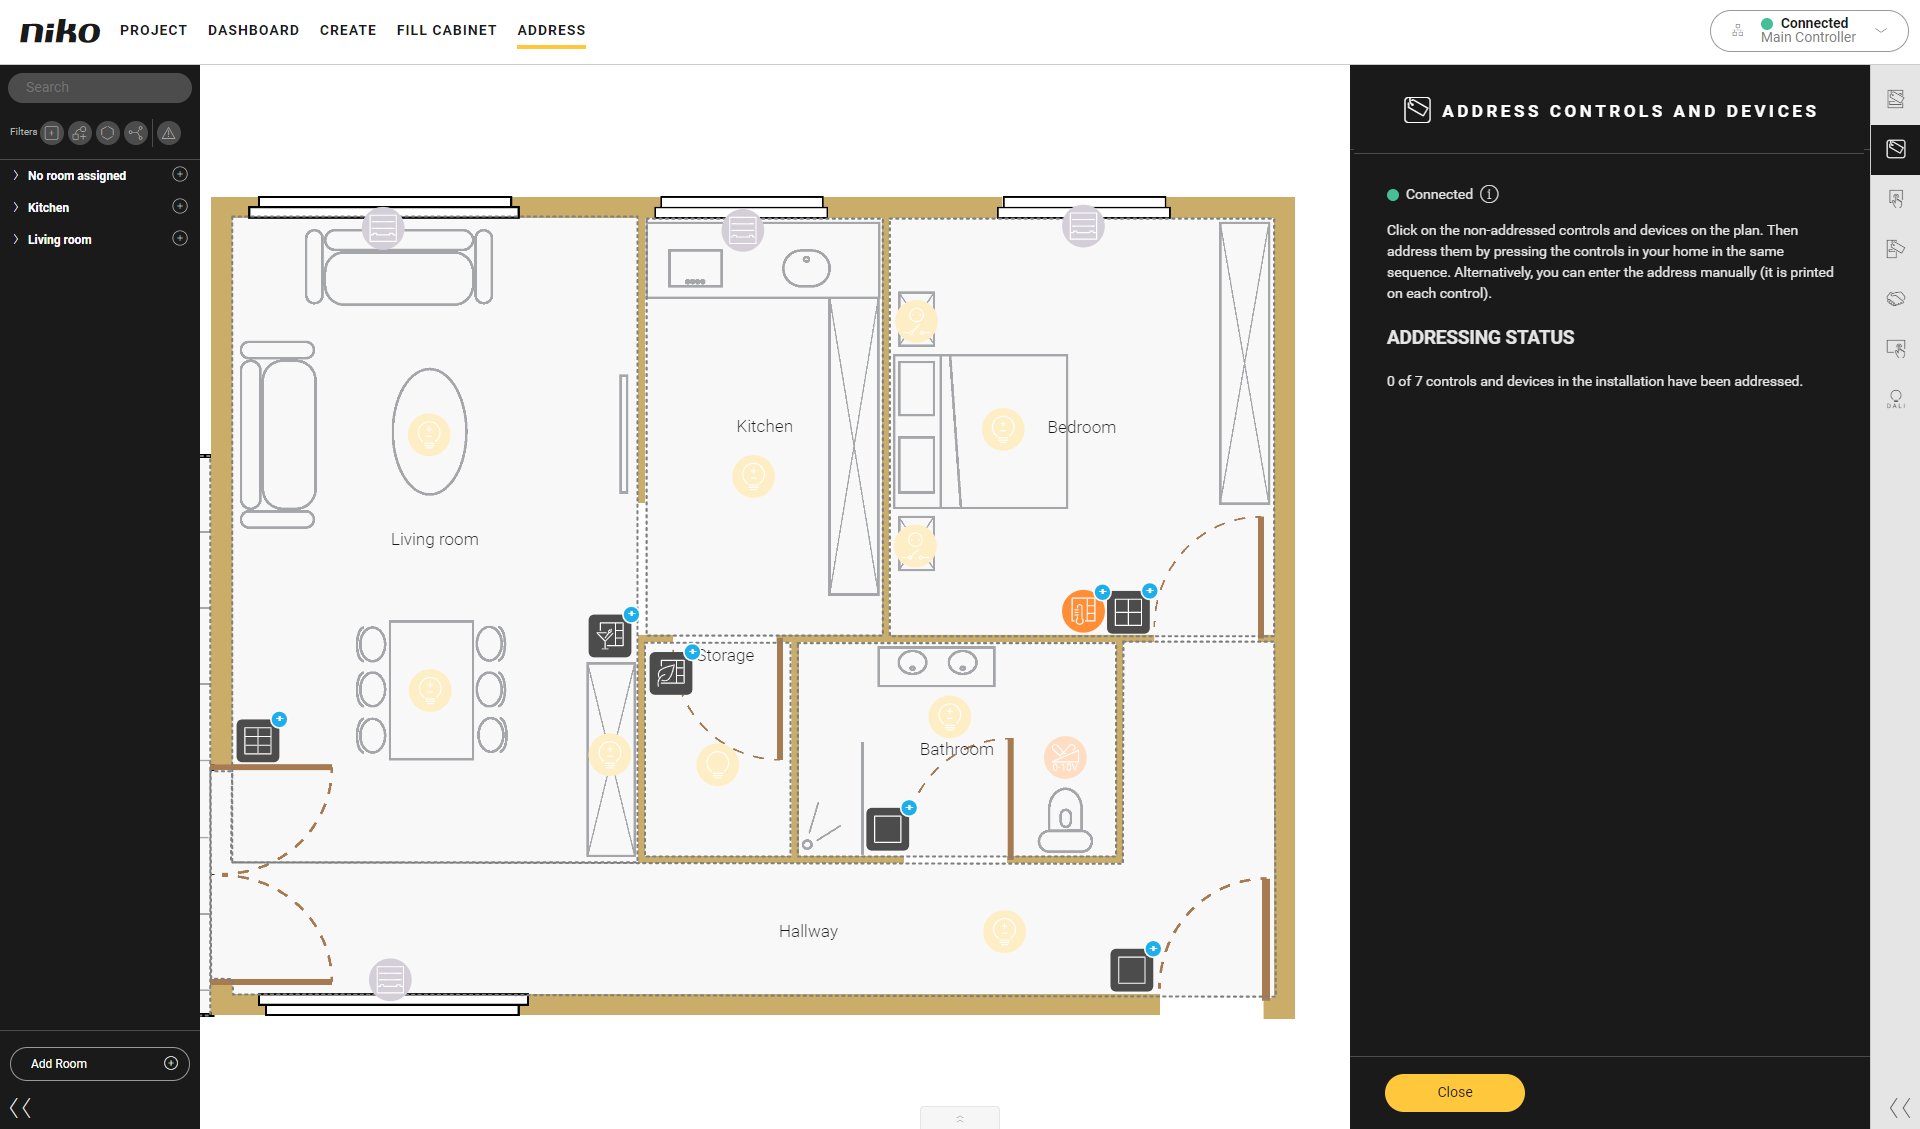
The Address controls and devices pane appears and shows the address status of the configured controls and devices.
-
In the drawing area all controls are shown.
-
-
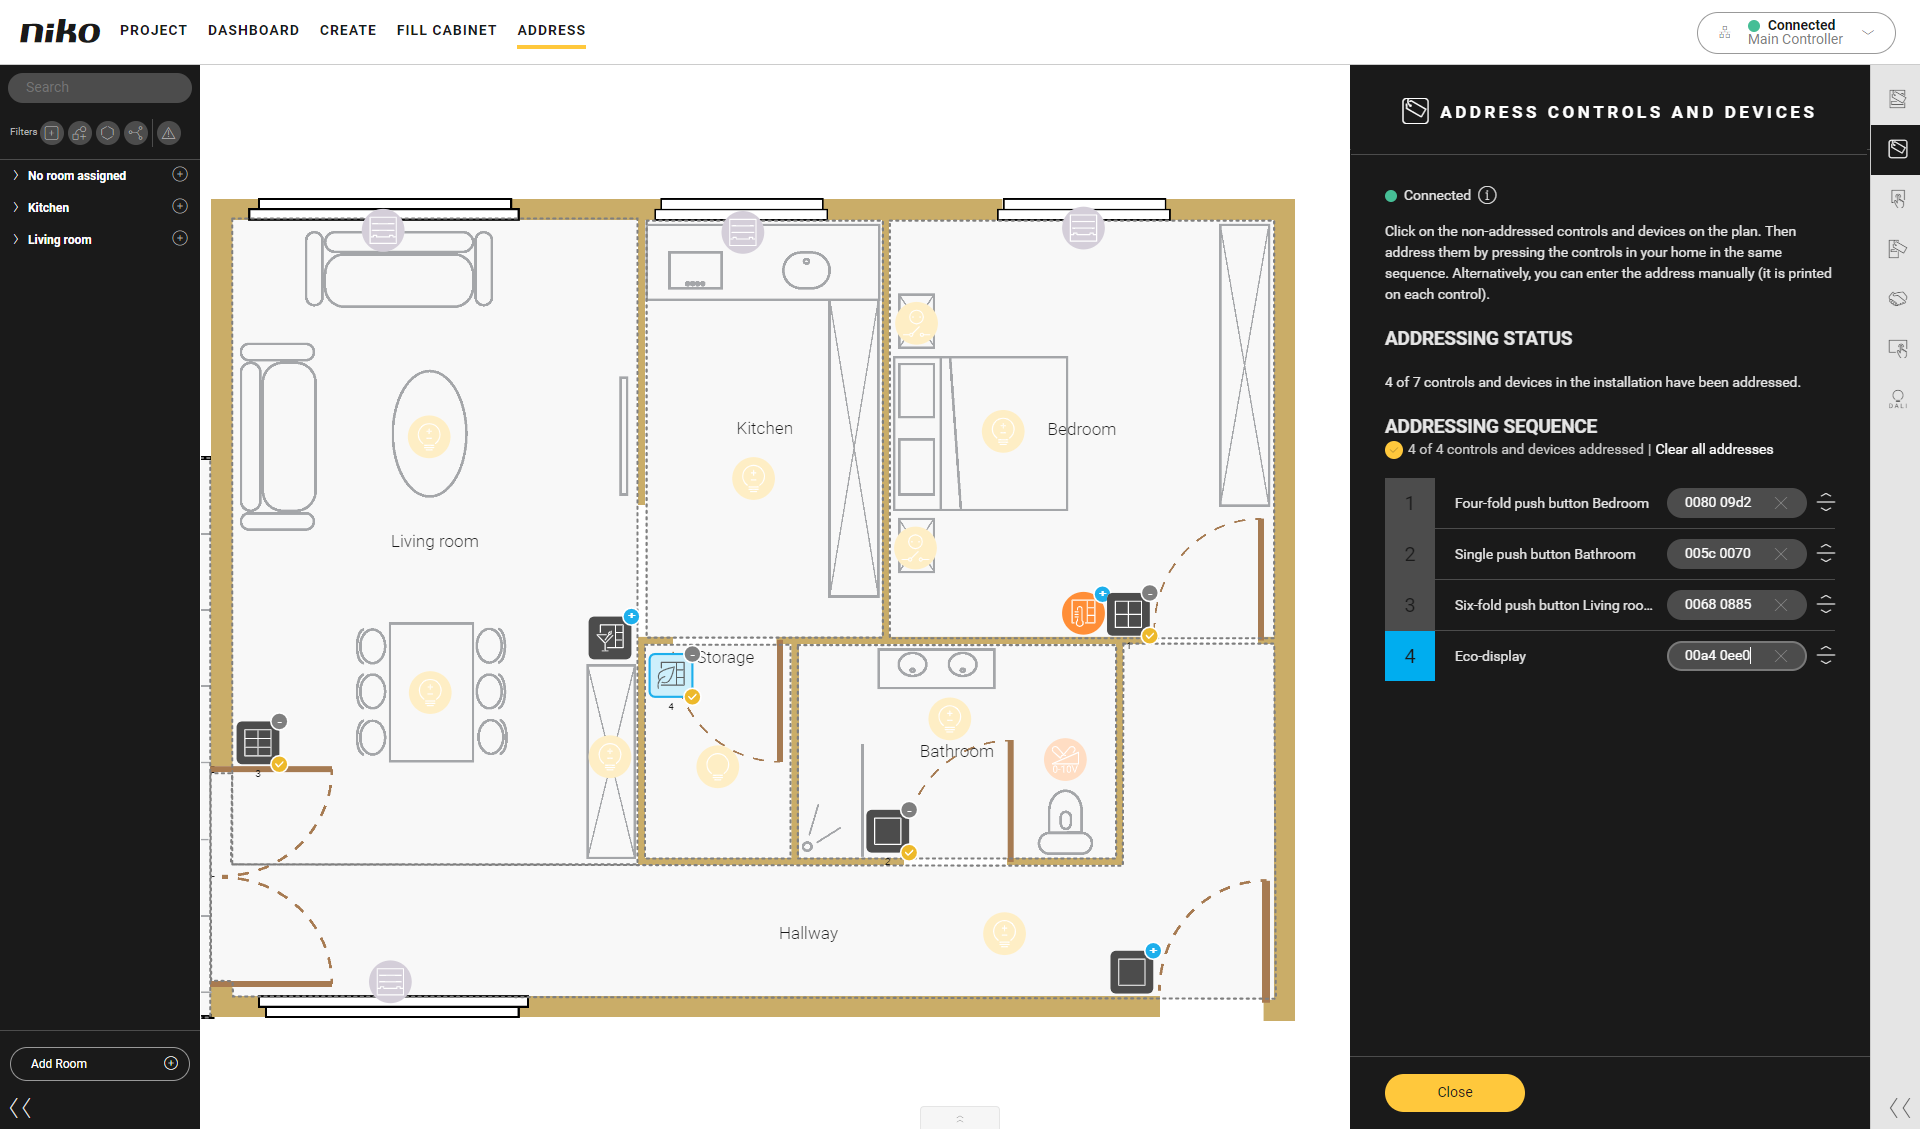
Click on the plus signs of the controls to add them to the list in the pane. Do this in the order in which you want to address them.
You can choose how many controls you want to include in the list at the same time. Ultimately, all controls need to be addressed.
Use the tools Search, Filter or Multiselect as necessary.
-
Walk through the house and press any key of each control in the list. Respect the order listed in the programming software.
-
Click the Close button to return to the Address overview window.