
Starting point
-
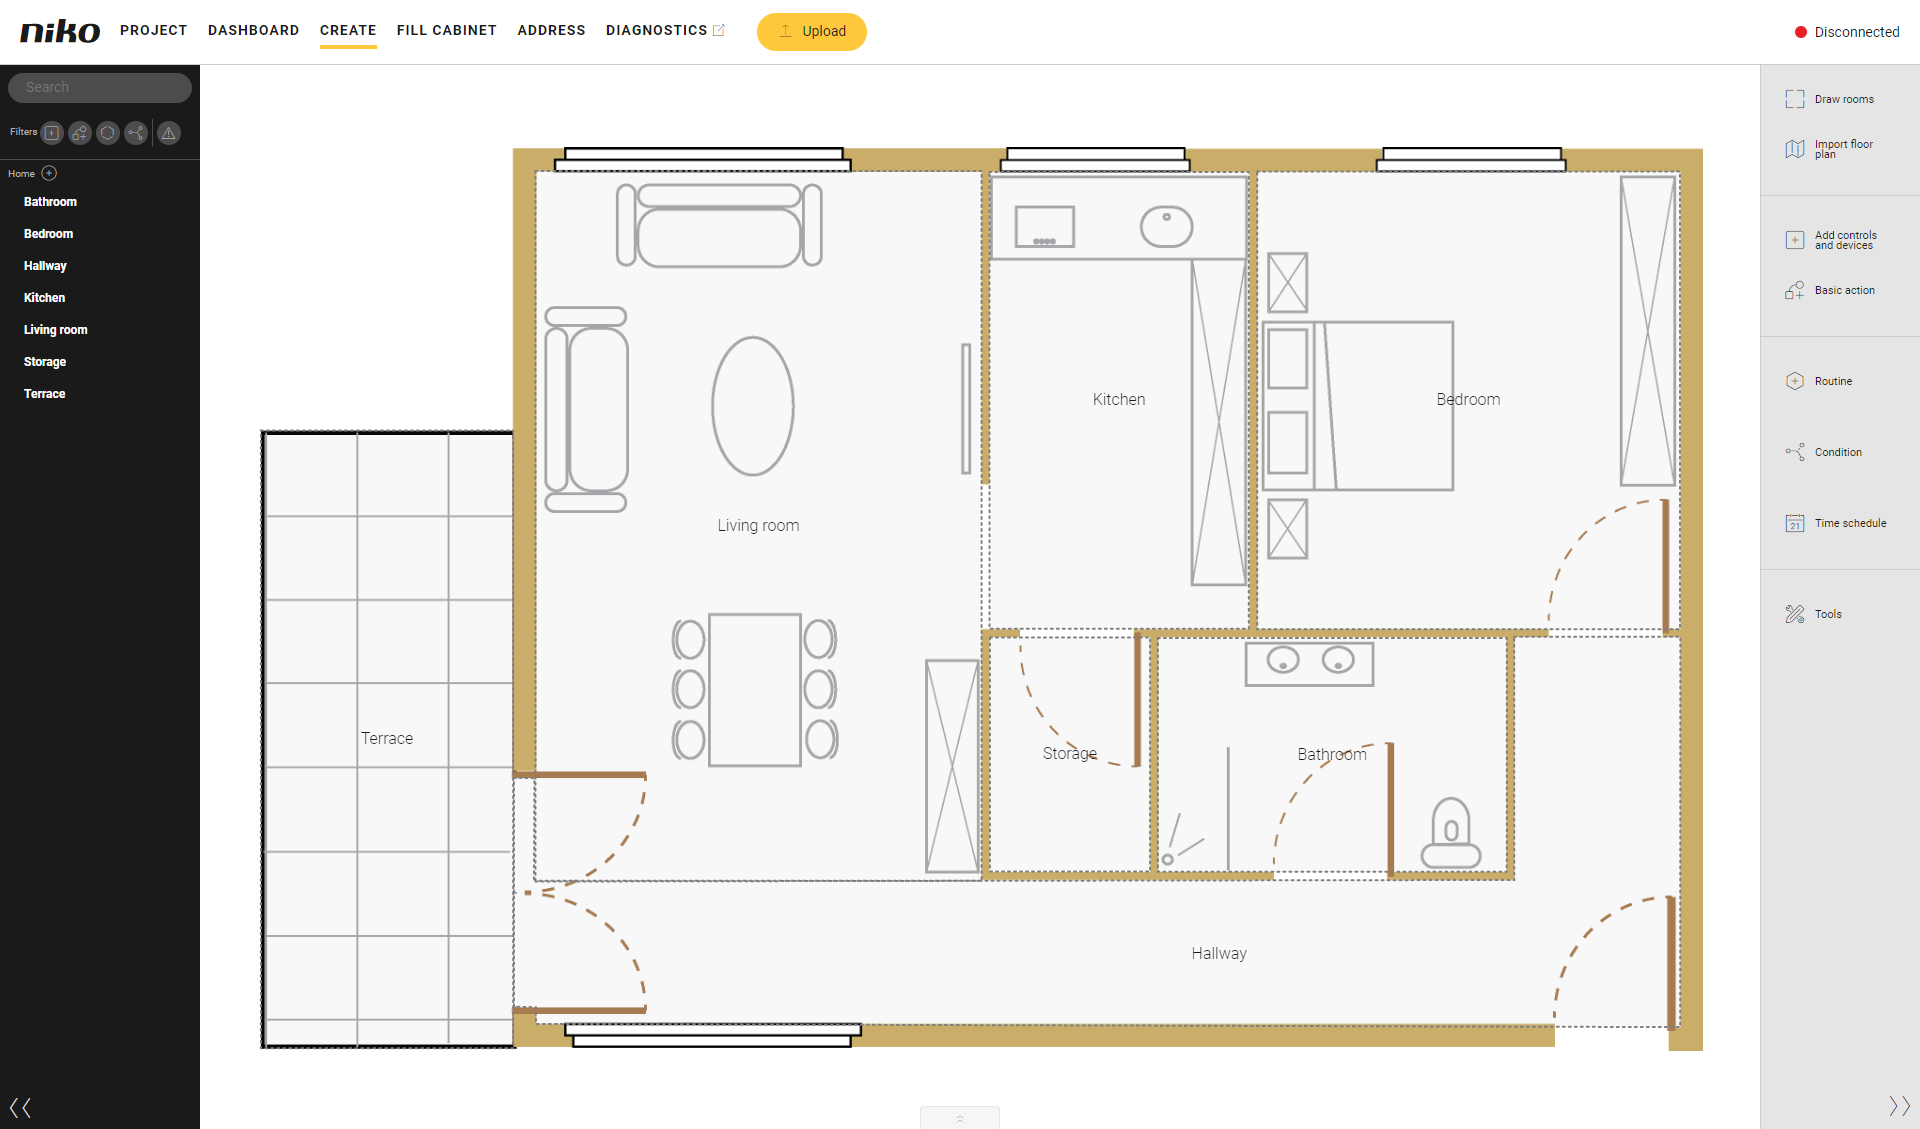
You are in the Create overview window.
Procedure
With a DALI-2 broadcast module, you create 2 DALI light (broadcast module) devices in your installation (one device per DALI channel).
With a DALI-2 addressable module, you create as many (within the project limits) DALI dimmed light, DALI switched light, DALI tunable white, DALI RGB or DALI RGBW devices, in your installation as there is DALI gear.
-
In the right-hand button bar, click on the Add controls and devices button.
Result:
The Add controls and devices pane appears and shows the categories into which the controls and devices are subdivided.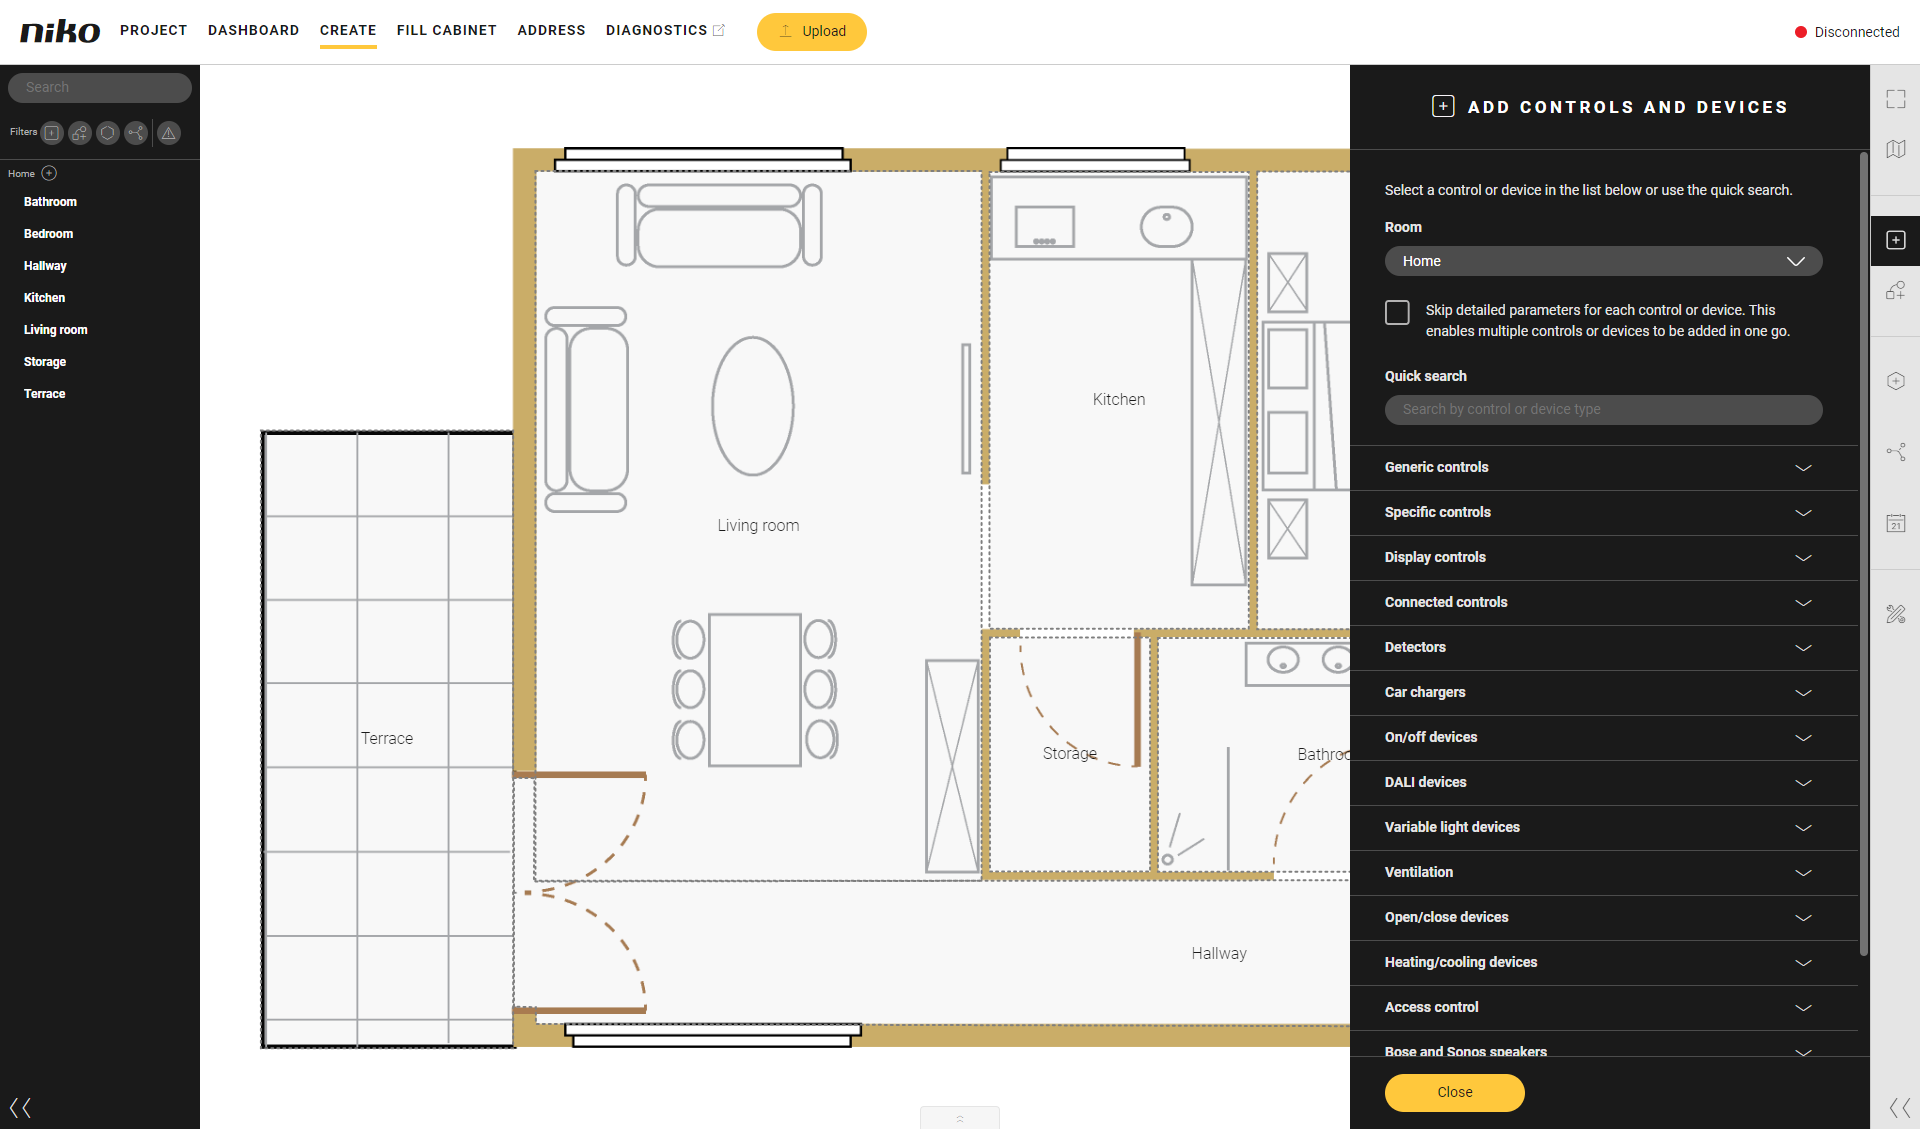
-
You now have the choice:
-
If you tick the selection box Skip detailed parameters for each control or device, you can quickly add several controls or devices by clicking on them. However, you will then need to enter the name and parameters for each control or device afterwards.
-
If you untick the selection box Skip detailed parameters for each control or device, you can set the name or parameters for the current control or device immediately.
-
-
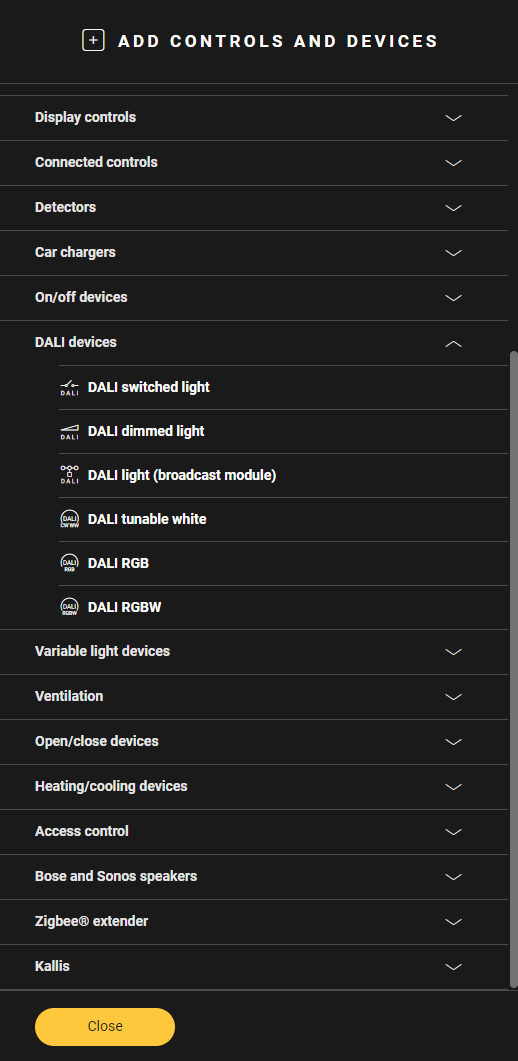
Click on the arrow next to the DALI devices category.
-
Select the desired room at the top of the pane or click inside the room where you want to place the DALI device.
-
Select the desired DALI device:
-
DALI switched light
-
DALI dimmed light
-
DALI light (broadcast module)
-
-
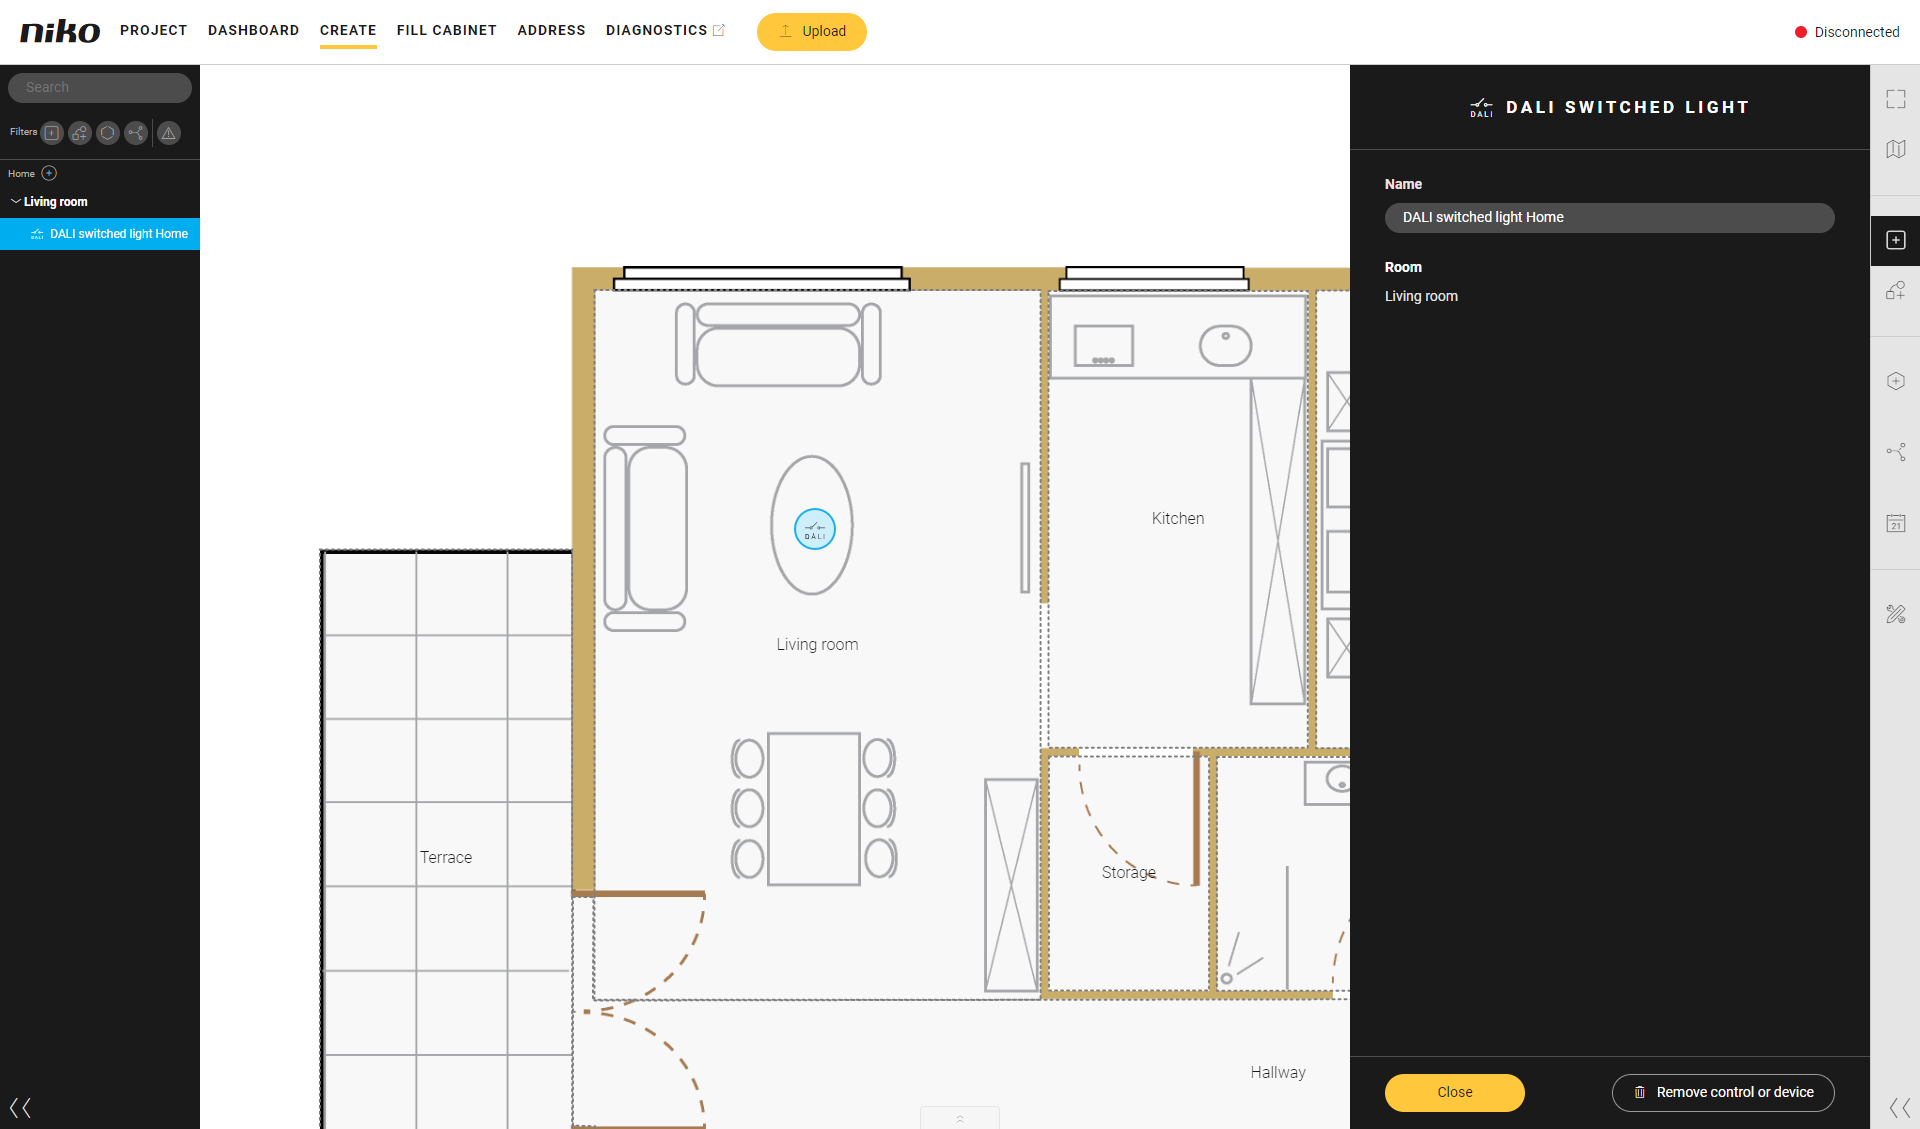
The chosen device is placed in the selected room.
-
It is highly recommended to modify the generic name of the device.
-
Drag the device to the correct location on the floor plan.
-
Click on the Close button to return to the Add controls and devices pane.
-
Click on the Close button to return to the Create pane.
Once the DALI devices are created, you have to do the following:
-
Use the DALI devices in basic actions and routines.
-
Fill the cabinet with the necessary DALI-2 modules:
-
DALI-2 broadcast module for DALI light (broadcast module) devices
-
DALI-2 addressable module for DALI dimmed light, DALI switched light, DALI tunable white, DALI RGB or DALI RGBW devices
-
-
Address the DALI module.
-
Address the DALI devices.