
Disclaimer: due to the process of continuous improvement, the screenshots shown in this section may differ slightly from what you are seeing on your screen. This is to be expected. The functionality of the screens, however, is the same.
How to connect to a DALI bridge
To access the DALI bridge web-based configuration interface, you need to enter a valid network address in the web browser. Getting the IP address depends on whether or not a DHCP server is present:
DHCP Server present
The DALI bridge obtains its IP address automatically from a DHCP server within the network. Contact the network administrator to identify the assigned IP address.
Ensure that the DHCP server is active and that a sufficient number of free IP addresses are available for all connected DALI bridges.
DHCP Server not present
The DALI bridge self-assigns a link-local address in the 169.254.x.x range.
To establish a connection, configure the connected PC or laptop within the same network address range as the DALI bridge.
In both cases, locate the DALI bridge on the network via mDNS:
-
DaliBridge-<MAC>.local or
-
<userdefinedhostname>.local,
or contact your IT administrator.
The MAC address can be found engraved on the DALI bridge.
Avoid using multiple devices with the same local static IP address on the same network, as this will cause an IP address conflict and may prevent network communication. If required, consult your IT administrator for the correct network configuration.
How to configure the DALI bridge
Proceed as follows to access and configure the DALI bridge:
Step 1 – Connect to the configuration interface
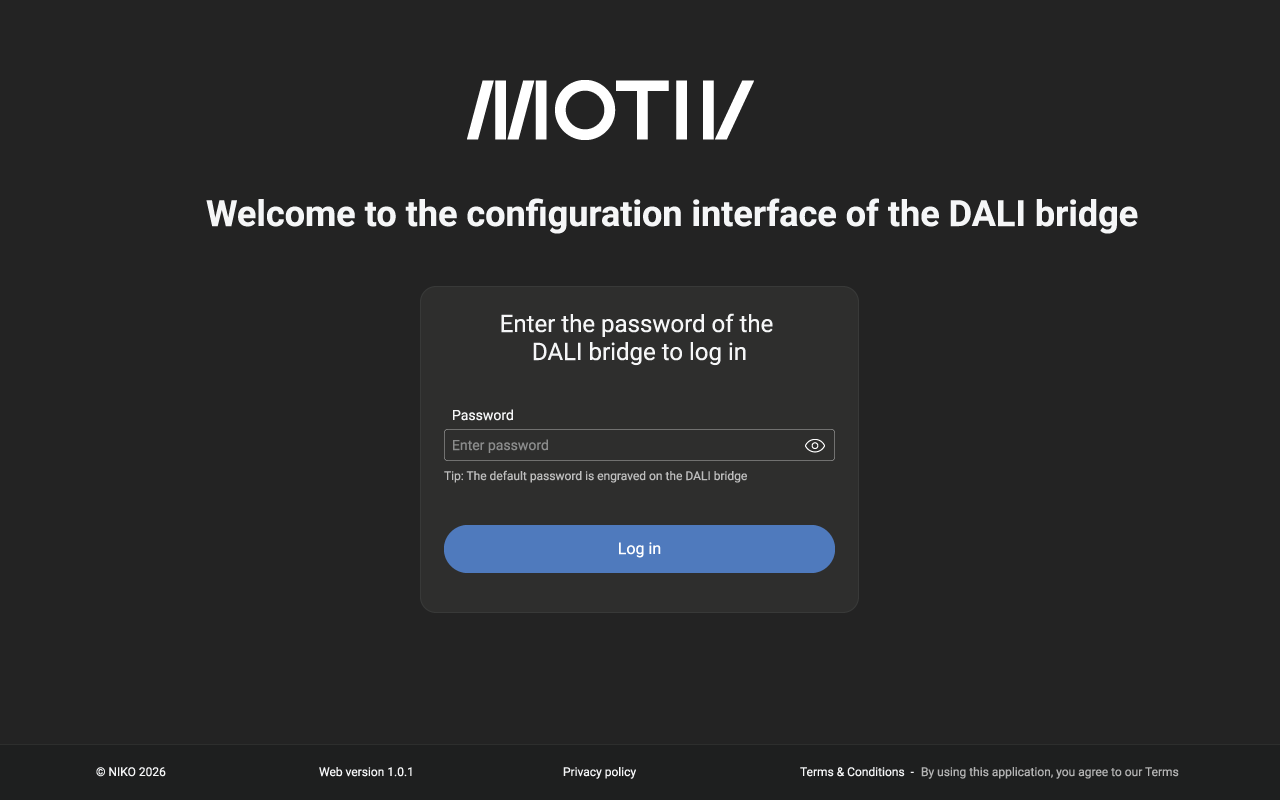
In a browser window, enter the IP address or mDNS address of the DALI bridge. You are taken to the login page:
Step 2 – Log in to the configuration interface
Enter the unique default password provided with the device. The password is engraved on the DALI bridge housing.
For security reasons, we recommend changing the default password after the first login to prevent unauthorised access.
Step 3 – Change the parameters you need
Use the configuration tool to change the parameters.
Overview of the configuration interface
For more information, go here Overview of the configuration interface